Piercing Aftercare
Congratulations on your new piercing!
We are with you for the whole healing journey with free checkups, downsizes and advice along the way.
Here are some Dos & Don’ts to follow when caring for your healing piercing.
✔ Do:
- Ensure your jewellery is secure. Read more in our Jewellery Care instructions.
- Clean your piercing twice a day during the healing period—morning and evening are ideal. Avoid overcleaning.
Read our step-by step guide for how to clean your piercing below.
- Use a new box of cotton buds/q-tips, handled only with clean hands. Pointy ones are often more convenient. Ensure the box has a lid to prevent dust build-up.
- Rinse your piercings very well in the shower with plenty of warm running water. During the shower is the best time to clean your piercings as all of the build up becomes nice and soft and easy to wipe away.
It is very important to rinse away all soaps, conditioners, lotions etc with plenty of running water after very shower, and dry properly afterwards. - Ask for help! The backs of piercings can be tricky to clean—ask someone to check for any remaining build-up.
- Do come back for your checkup! Checkups are super important, as they help us to observe the healing process, troubleshoot if issues arise and downsize your piercing on time.
When we pierce you, we fit you with a longer bar to allow for the swelling that occurs in the first phase of healing. After this swelling goes down, you need to be fitted with a shorter bar. This comes after about 8 weeks, or 2-4 weeks for oral piercings. Neglecting to downsize can lead to more swelling, migration, irritation and a longer healing time.
In Piercer Charlie’s Creations, if we have pierced you, your downsize is free of charge, so there’s no excuse for not coming back for your shorter bar! - Our piercers and jewellery specialists will assess each client’s anatomy during the consultation part of your booking and help you find the right style and size of jewellery needed for you. The recommendations of style and assessment of the initial length of your jewellery are chosen based on experience and knowledge we gathered over the decades working in the industry.
Contact us and visit us immediately, if at any point your jewellery is feeling tight, or doesn’t have any extra room for swelling, we must upsize the jewellery to prevent it from embedding under the skin. - If you wear rings on your fingers, be cautious when washing your face/hair/body, so that they don’t catch on your piercings.
- Stay healthy! Get enough sleep, eat well. Listen to your body. Exercise during healing is fine, just be mindful of your new piercing and make sure to clean and dry well after workouts.
- Make sure your bedding is washed and changed regularly.
- Be careful when styling your hair and let your stylist know of a new or healing piercing.
- Maintain cleanliness of telephones, headphones, eyeglasses, helmets, hats, and anything that contacts the pierced area.
- Listen to your piercer 🙂
✖ Do not:
- Do not sleep on your new piercings (this goes for cartilage, navel, nipple; basically all piercings bar first and second lobes). If you’re finding it difficult staying off your ear piercings in particular there’s a couple of things you can do:
Try a hair clamp/claw clip. Place this on your head directly above the ear with your new piercings. If you turn in the night, this will make you turn back over to the other side, without disturbing your sleep too much. This is the best method.
Another way is using a travel pillow, where you can place your ear inside the hole to prevent pressure on the new piercings. No pressure is better than potential pressure, so always try the hair clamp first! - Do not bend or pull your ear to show off your piercing.
- Do not touch your piercing, unless you are about to clean it, according to the instructions below.
- No swimming. Avoid submerging the piercing in unhygienic bodies of water such as lakes, pools, hot tubs, etc. during the healing period. That would be at least 2 months.
- Avoid wet hair on your piercings. Blow dry your hair after the shower, or tie it up, away from the ear piercings. Do not sleep with wet hair. Moisture can irritate the piercings.
- Do not PLAY with your piercings. There is no need to twist, turn or move around the jewellery in your piercing. This will not help the healing process. We promise.
- Avoid any oral contact, rough play and others’ bodily fluids contact with your healing piercing.
- Avoid stress and recreational drug use, including excessive caffeine, alcohol and smoking.
- No beauty and personal care products should be on or around the new piercing. This includes makeup, moisturisers, tanning products etc. This goes until the piercing is 100% fully healed.
- DO NOT mix your own saline. Making your own salt water solution will commonly result in the mixture being too salty and strong. This can over dry the piercing, interfering with the healing. This homemade solution is also not sterile and impossible to store sterile. It is so much easier and safer to have a suitable product at your disposal, without having to go to the effort of manually making it. The more accessible your Sterile Saline Solution is, the more likely it is you’ll remember to clean and properly care for your new piercing!
- You should not attempt to remove or replace the jewellery yourself for at least 6 months and until the piercing is fully healed. Often when piercings do not cause us pain anymore, we think the piercing is fully healed. This is not the case. The inside of the piercing channel itself remains fragile. Be patient.
- Don’t be SHY! If you feel like there’s an issue with your new piercing, if you are too swollen, if there is not enough room on the bar to clean, or just if you’re feeling a bit unsure or worried, please get in touch or pop back into us! We’re always here to help and to answer any questions and give advice for the whole healing process, and even after.
How to Clean your Piercing:
Here is a step by step guide to cleaning your new piercing(s):

Step 1
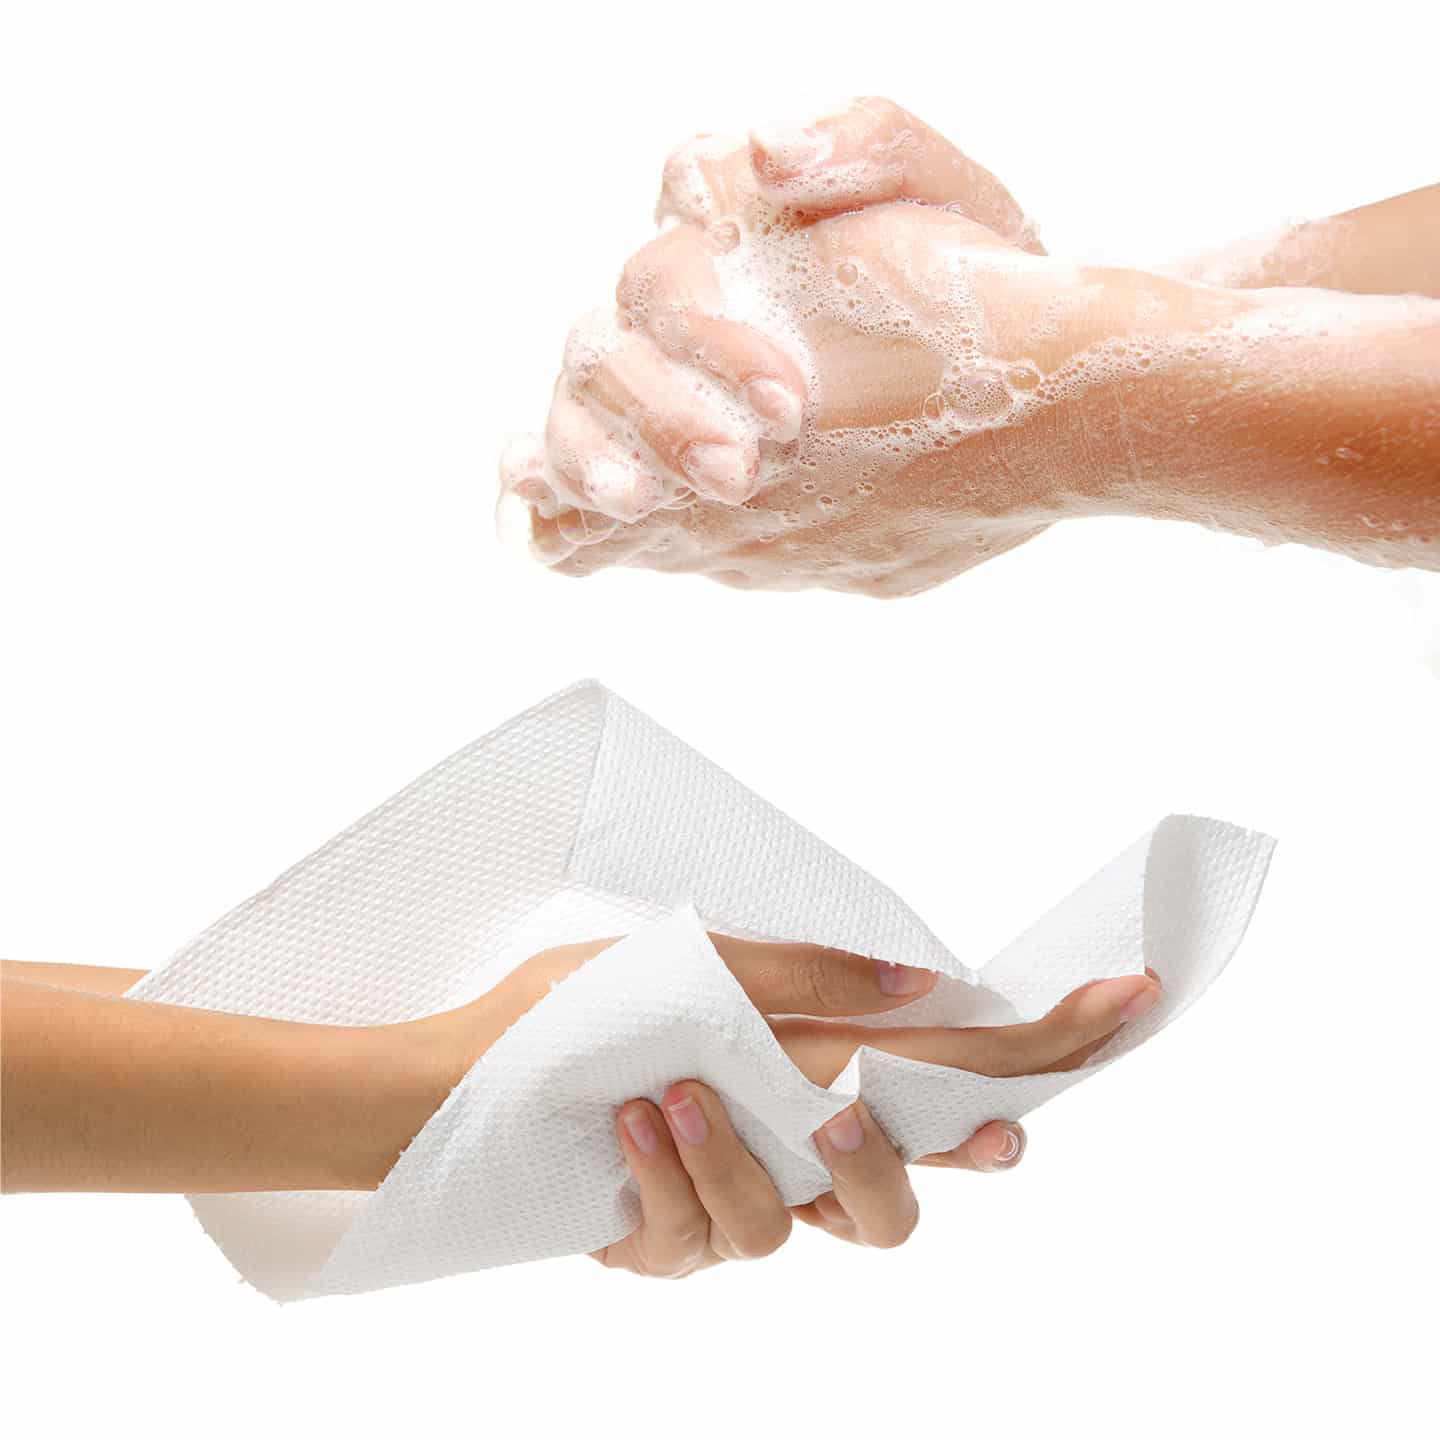
Always clean and disinfect your hands properly before cleaning your fresh piercings.
Step 2
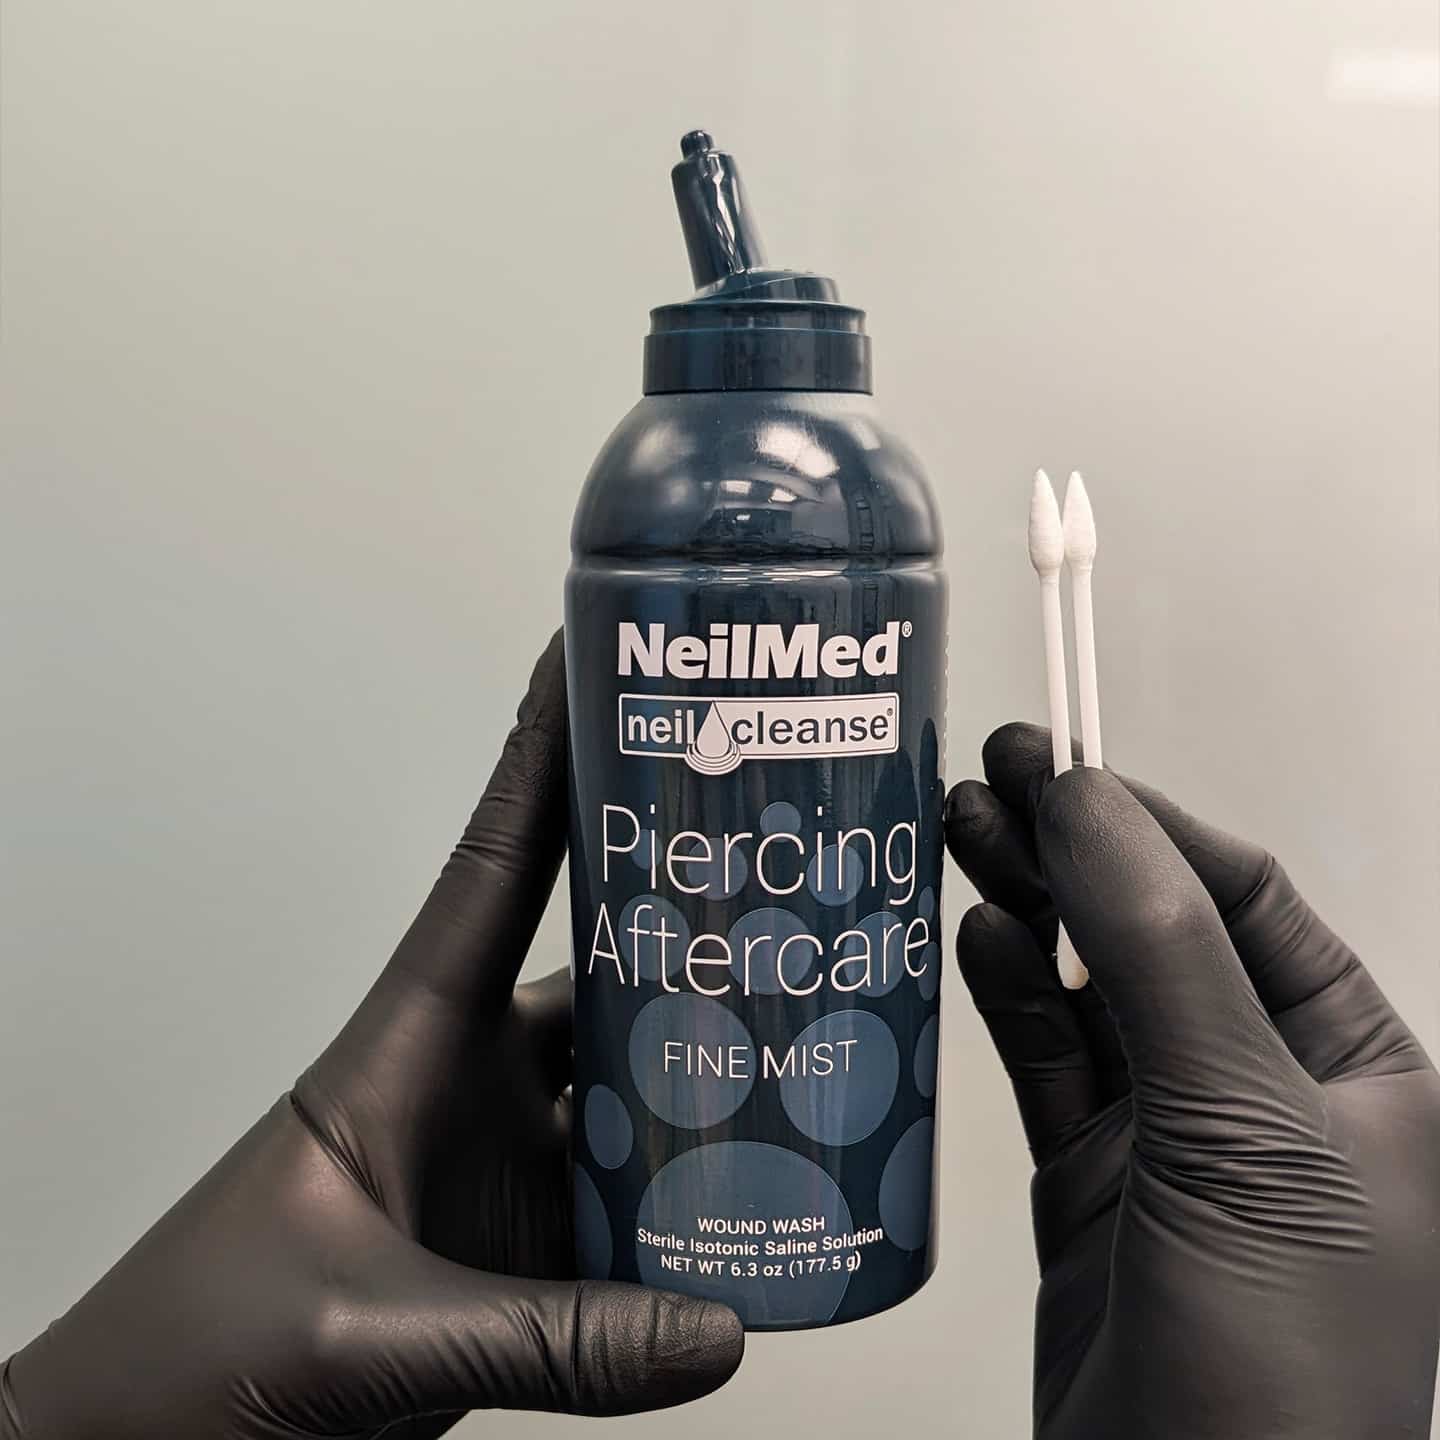
Grab your cotton-buds/q-tip and your saline solution. Only Sterile Saline Solution 0.9%, with no additives (read the label), in a pressurised container with a spray nozzle, should be used on your piercing.
Step 3
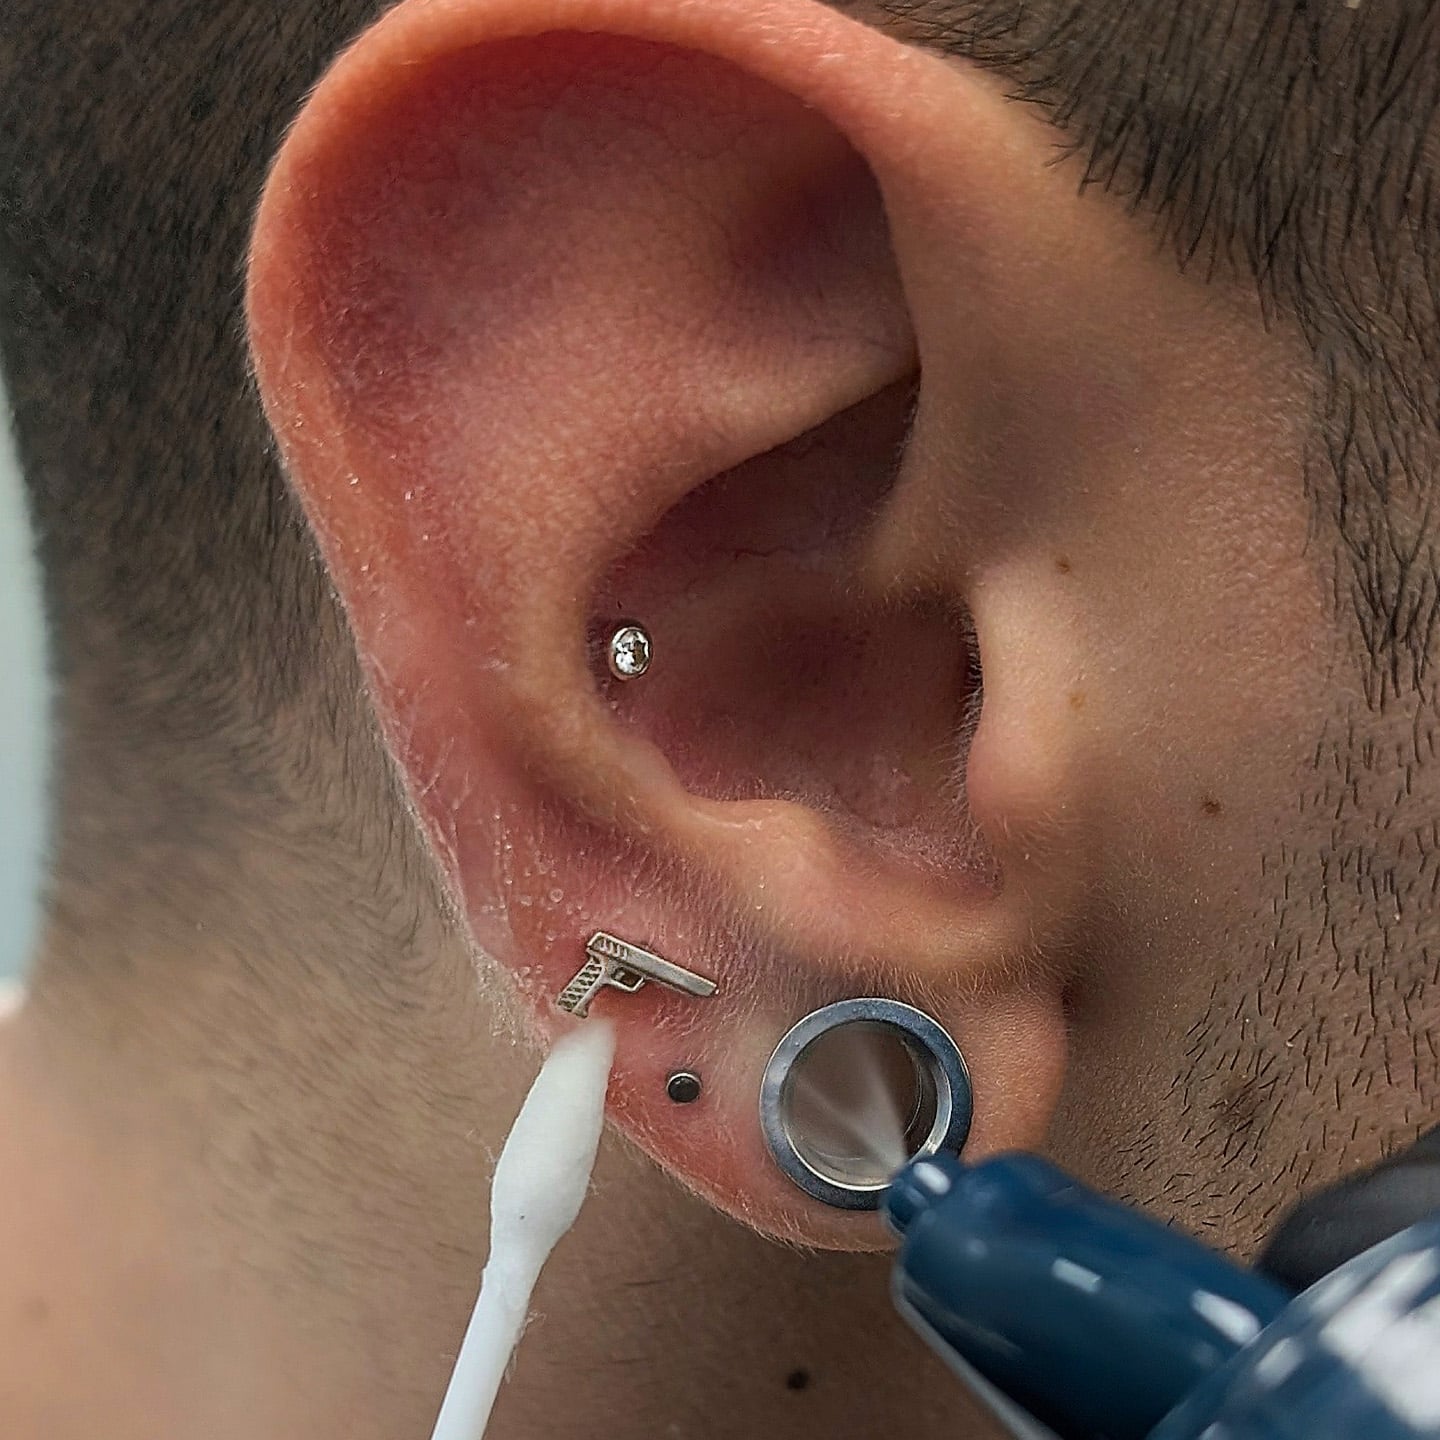
Place the cotton bud next to your piercing, and spray your saline solution directly on to that area, saturating the cotton bud and your piercing nicely.
Step 4
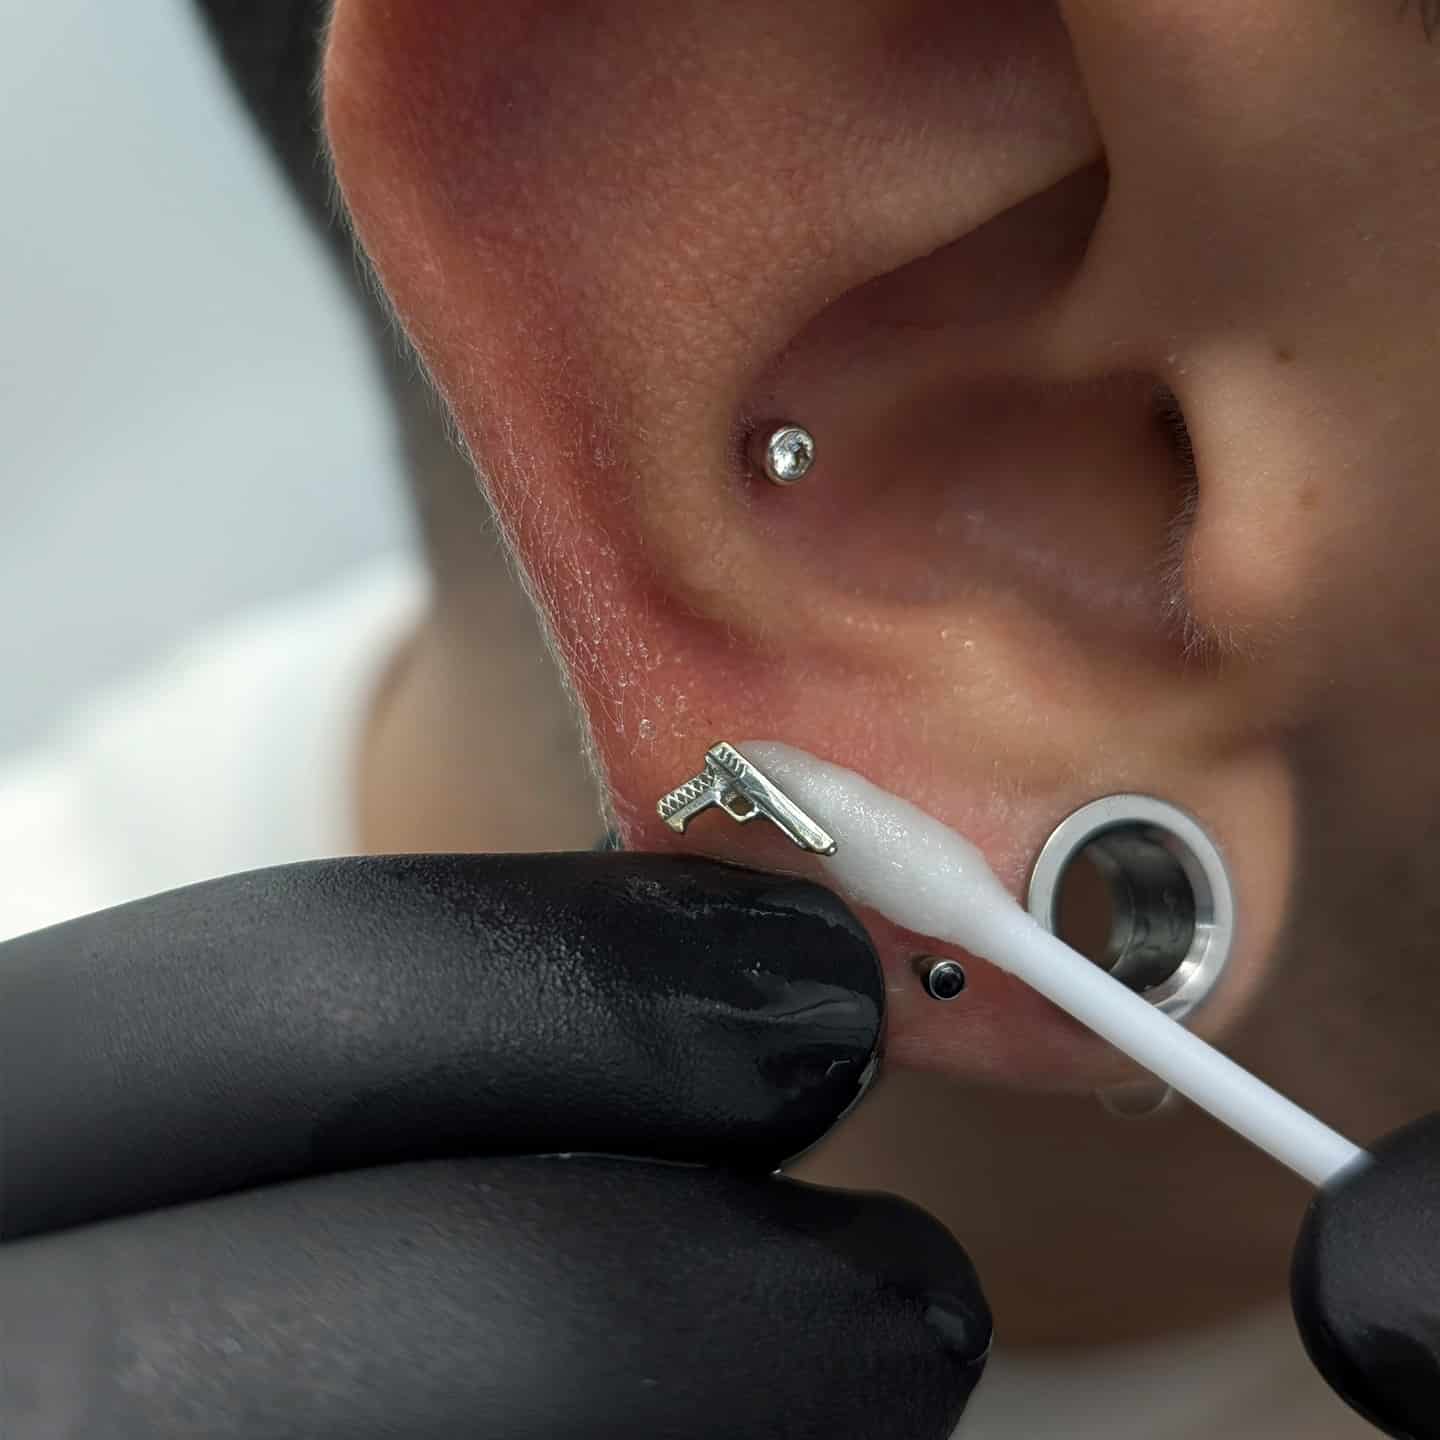
Gently clean both sides of the piercing and the jewellery too. Make sure to remove all the crusties and build up.
Step 5
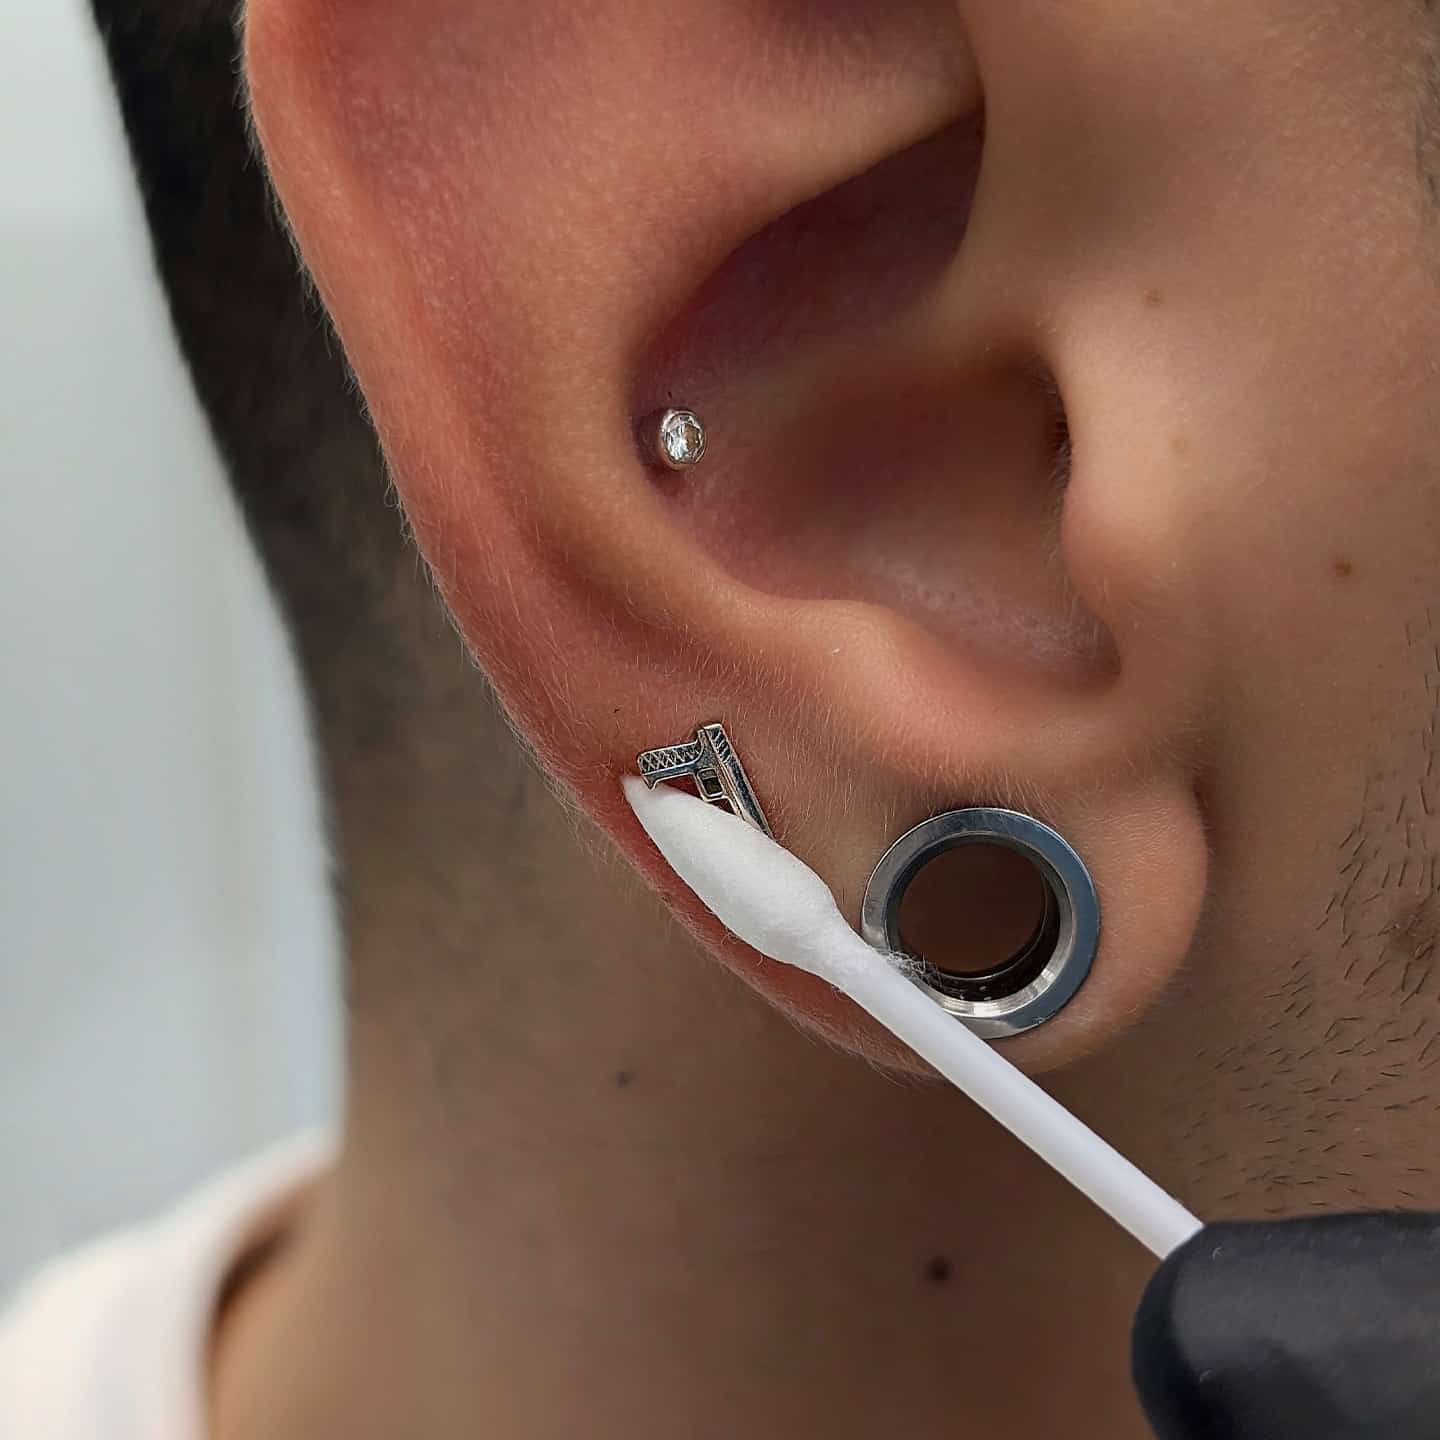
DRY! Grab a dry cotton bud/q-tip and dry the piercing and area around. It’s important to dry your piercings just as well as we clean them! Piercings don’t like moisture, and not drying your piercings properly can lead to irritation bumps or piercing bumps.
Piercing Specific Information
Continue below for further aftercare instructions on your specific piercing type.
After reading your aftercare for your specific piercings, please read our FAQ below as it contains more important information.
Cartilage Piercings
All the above Do’s and Don’ts and cleaning guide are focused on ear piercings, so you can skip to the FAQ!
Oral Piercings
While you’re healing your new oral piercing it’s important to follow a couple of specific aftercare tips!
- Avoid white dairy, spicy foods, hot drinks and hot food for the first three weeks of the healing. These can all cause inflammation and over swelling.
- Drink plenty of ice-cold water. Allow small pieces of ice to dissolve in the mouth.
- Take your time with eating until you are used to the piercing and the jewellery is downsized to prevent irritation or prolonged healing.
- Always rinse your mouth with water after eating.
- Follow your regular oral hygiene routine; brush your teeth and tongue twice a day.
- Use a non-alcohol based mouthwash once a day for the first three weeks.
- Avoid smoking.
We realise how challenging this might be, so if you do choose to smoke, which we do not recommend, please rinse your mouth with water afterwards. - Avoid any contact with others bodily fluids on your fresh and healing piercing.
- We fit you with a longer bar for swelling, avoid playing with this extra length as you could traumatise the tissue and new piercing.
In general, avoid playing with your piercing, until it’s fully healed. - For Tongue Piercings and Lip Piercings, you need to pop back for a checkup after 2-3 weeks.
Nipple Piercings
For nipple piercings, come back to us for a checkup after 6 weeks. They generally don’t need a downsize (shorter bar), but like all piercings, they need a checkup.
- Avoid wearing tight fitting clothes that put pressure on the piercing e.g bras, especially sports bras.
- Try not to sleep on your stomach, as again, this will put pressure on the fresh piercings.
- Avoid any oral contact with the piercings for the first three months, at least.
- If feeling particularly tender, you can do a cold compress.
Put your aftercare solution in the fridge, let it get really nice and cold.
Grab some cotton rounds or gauze and spray the cold solution on them, saturating them completely.
Gently place them on your fresh piercings. Turn on your favourite show. Relax. Breathe.
After ten minutes remove the compress, clean, if needed, and dry the piecings very well.
Navel Piercings – Belly Piercings
Like all piercings, navels do not enjoy excess pressure and moisture. Make sure your pants are sitting either above, or below the piercing and not directly on.
Check when you’re sitting too, ensuring they’re not putting pressure on the fresh piercing. Come back after 6 weeks for your checkup.
Facial Piercings
Follow the Dos and Don’ts, come back on time for your checkup and please; be careful with skincare products and makeup.
Dermal Anchors – Surface Piercings
- Clean as advised with the spray and cotton buds/q-tips.
- After two-three weeks, we need to change this routine slightly. For dermal and surface piercings, the majority of build-up occurs underneath the jewellery attachment.
In order to prevent this build up and keep the piercing clean, happy, healthy and healing, we need to begin to clean with gauze.
Saturate the gauze and the piercing with the saline solution.
Gently slide the thin layer of gauze underneath the jewellery attachment and delicately move it around.
Do the same with a dry gauze afterwards. - Come back for your checkup after 6 weeks.
- Follow all of the above dos and don’ts, as these piercings do not forgive mistakes.
Genital Piercings
- Be careful of the fabrics on your underwear, cotton is best, avoid lace.
- Wear sanitary pads for the 1-2 weeks,
- Clean once a day with natural soap, with no fragrances e.g olive-made green soap.
- In most cases you can engage in sexual activity as soon as you feel ready, but maintaining hygiene and avoiding trauma are vital; all sexual activities should be gentle during the healing period.
Use barriers such as condoms, dental dams, and waterproof bandages, etc. to avoid contact with your partners’ body fluids, even in monogamous relationships.
Use clean, disposable barriers on sex toys.
Use a new container of water-based lubricant; do not use saliva.
After sex, an additional saline soak or clean water rinse is suggested
Frequently Asked Questions
How long until my piercing is healed?
Although each person heals differently, healing times largely depend on how you care for your piercing. The duration of healing also depends on placement. Follow the aftercare instructions and come back for your checkups and you should have a smooth healing time, with minimal issues.. If any issues arise, just come straight back to us.
How should I clean and care for my new piercing?
Cleaning and caring for new piercing is essential for a smooth healing process. Read our Dos and Don’ts, our step by step guide to cleaning your new piercing(s) and our Piercing Specific Information above.
Is my piercing infected?
Probably not. Piercings can very easily be irritated if you are not following proper aftercare, or if you have an accident. However, if you suspect an infection or even if your piercing is just irritated it’s really important to contact us and visit us in person as soon as possible. We then can advise how to best go forward, and if you need to visit your doctor.
If you suspect an infection, an appropriately sized quality jewellery should be left in place to allow for drainage.
If the jewellery is removed, the wound can close up, which can seal the infection inside the piercing channel and result in an abscess.
Until an infection is cleared up, please leave in a quality jewellery.
All that being said, we are Piercers, and not medical professionals.
If you suspect your piercing is infected and are worried about your health, please visit your GP without delay, keeping in mind that your doctor might be unfamiliar with treating body piercings or handling body jewellery.
What are the signs of an infected piercing?
Signs of an infection are sudden inflammation and discharge of pus and/or blood. If you suspect that you have an infection, contact us or your doctor at once, keeping in mind that your doctor might be unfamiliar with treating body piercings or handling body jewellery. Please do not wait for the symptoms to get worse and do not take advice from Google, social media or your favourite AI. Please.
What’s the bump I have on my piercing? How do I get rid of the piercing bump?
Do not panic. They are likely piercing bumps or fluid bumps. It’s probably not a keloid. They are common, however must be addressed. Piercings will often get irritation bumps from pressure (like sleeping on your piercing or getting it snagged accidentally) or moisture (not drying your piercing properly). These bumps can drain and if the fluid is light coloured/clear they will likely be healthy, and not a sign of infection. DO NOT squeeze or pop these fluid bumps; let them drain naturally.
In order to get rid of these bumps, we need to treat the cause of the irritation. We can troubleshoot any issues best in the studio and advise you on how to best treat the irritation.
You can try some warm compresses to increase the blood flow in the area, which will promote healing and assist in draining the bump faster.
Spay some Sterile Saline Solution on a gauze or cotton pad, heat it on the microwave to a comfortable temperature, apply on your ear near the piercing for a few minutes, clean and dry afterwards. If you have Sterile Saline wipes, you can heat and use those instead.
You can also try a dry warm compress to avoid excess moisture in the area.
If the bumps are not addressed, they can become permanent, and we would like to prevent this.
Again, please DO NOT rely on Google, social media or your favourite AI, which can suggest many harmful treatments e.g aspirin, tea tree oil etc. These may worsen the symptoms, and still not treat the root cause of the irritation.
How do I look after my piercing jewellery?
Please visit the Piercing Jewellery Care section on our website.
Can I change the jewellery before my piercing is fully healed?
At any stage during the healing process, a skilled piercer can change the jewellery for you, to professional piercing jewellery. However, it is important for the healing of the piercing that you do not change the jewellery yourself for at least 6 months and until it is fully healed. Follow your piercers recommendations. It often can “feel healed” but the inside channel of the piercing, which you cannot see, is very fragile and needs the recommended healing time. If you feel like you’re a fast healer, please do pop in and we can always confirm for you if it’s safe to go ahead and change your own jewellery.
What should I use to clean my piercing?
Only Sterile Saline Solution 0.9%, with no additives (read the label), in a pressurised container with a spray nozzle, should be used on your piercing.
What materials are safe for piercing jewellery?
We only stock piercing jewellery safe for body implantation. These are Solid Gold, both 18k and 14k, implant grade titanium F136 or F1295, Implant Grade Steel F-138, Cobalt Chromium Nickel Free alloy and Niobium.
How long should I wait before getting another piercing in the same area?
No time! Let’s do it! In general, we wouldn’t recommend getting more than 5 piercings in the one sitting, and if it’s ear piercings, higher than the second lobes, we only work on one side at a time. This is for your safety and healing, as you are not allowed to sleep on the cartilage piercings.
Can I get multiple piercings in one session?
Absolutely you can! As mentioned above, generally we would advise against more than 5 piercings in the one sitting. With regards to aftercare, it’s often easier to look after multiple piercings at the same time. You clean them together, care for them together, you avoid sleeping on that ear, and they heal at the same time frame. Always listen to your body, if you feel like one or two are enough in one sitting for you, that’s perfect also!
How do I ensure my piercing heals correctly while sleeping?
It’s important not to sleep on your piercings while they are healing. As mentioned above, there’s a few methods to help you stay off your fresh ear piercings, in particular:
Try a hair clamp/claw clip. Place this on your head directly above the ear with your new piercings. If you turn in the night, this will make you turn back over to the other side, without disturbing your sleep too much. This is the best method.
Another way is using a travel pillow, where you can place your ear inside the hole to prevent pressure on the new piercings. No pressure is better than potential pressure, so always try the hair clamp first!
Can I exercise or swim after getting a piercing?
We would recommend no swimming for at least the first two months of the healing. Avoid submerging the piercing in unhygienic bodies of water such as lakes, pools, hot tubs, etc. during the healing period. You may exercise, however be very aware of friction and sweat, so do clean and dry well after.
